Applications
You can deploy applications in a Project after you create. Project admins, members, or tenants can only deploy applications in projects.
Spectra allows you to create and deploy stateful and stateless applications. A stateful application requires persistent storage for its data. Spektra supports deploying operators and Helm charts that have cluster-scoped objects. User applications are deployed in the application-specified namespaces instead of the project namespace. Only tenant admins can launch applications with cluster-scoped objects.
Creating Catalogs
Log in as a project admin, project member, or tenant admin.
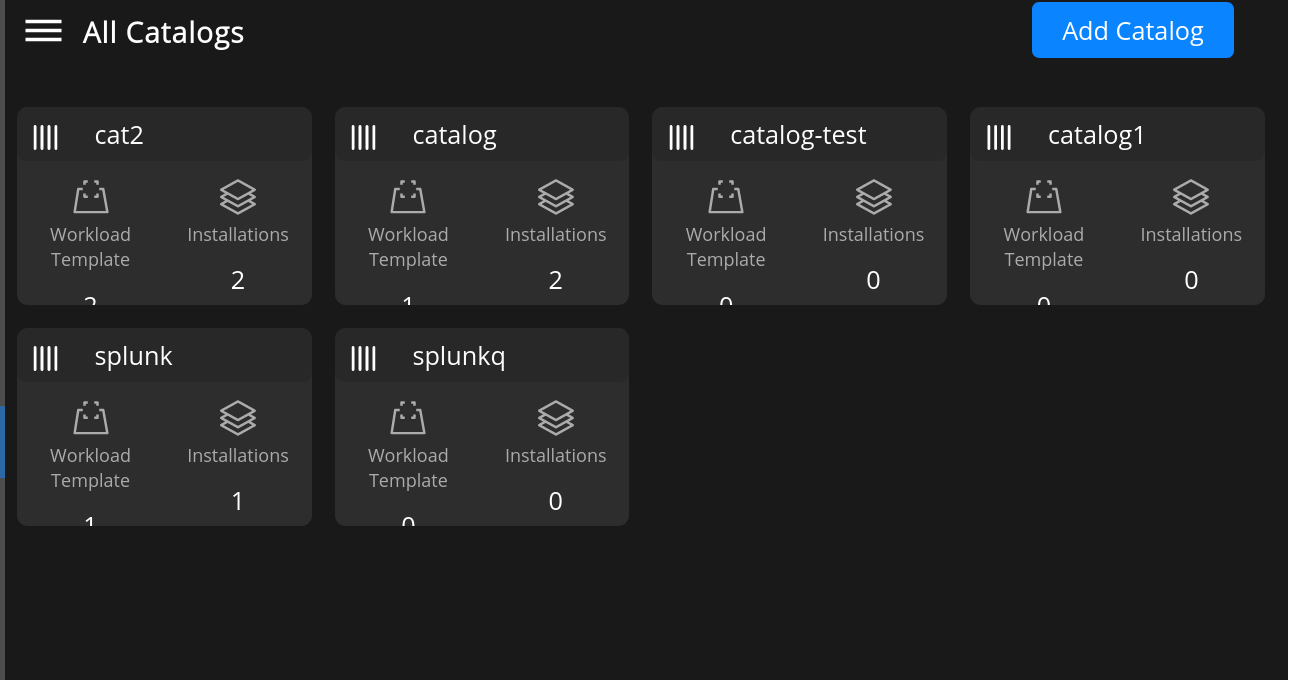
Select the Catalog to display the Catalogs.
Select add catalogs.
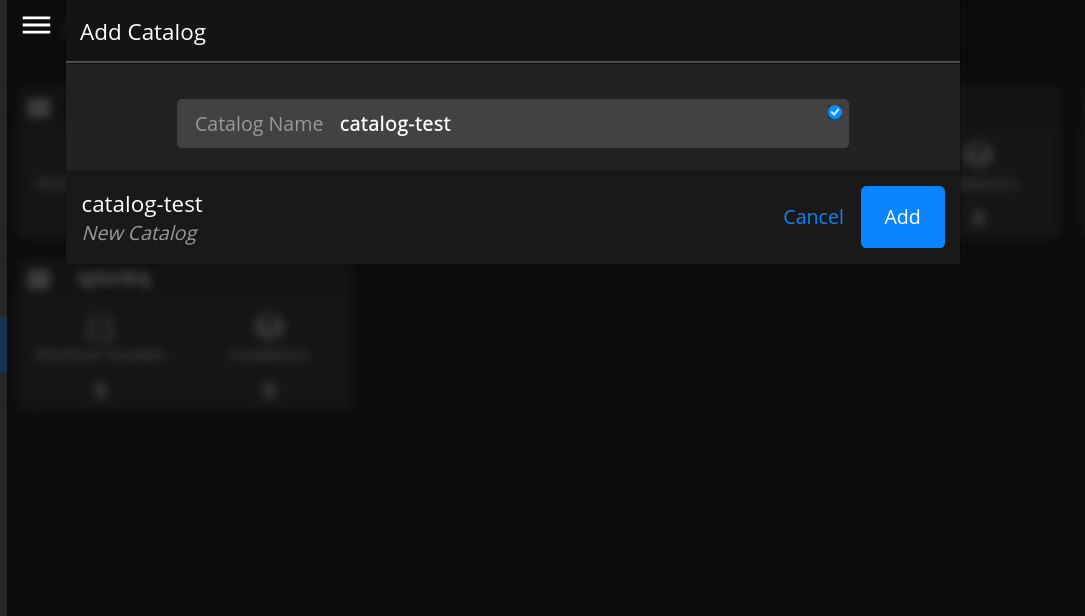
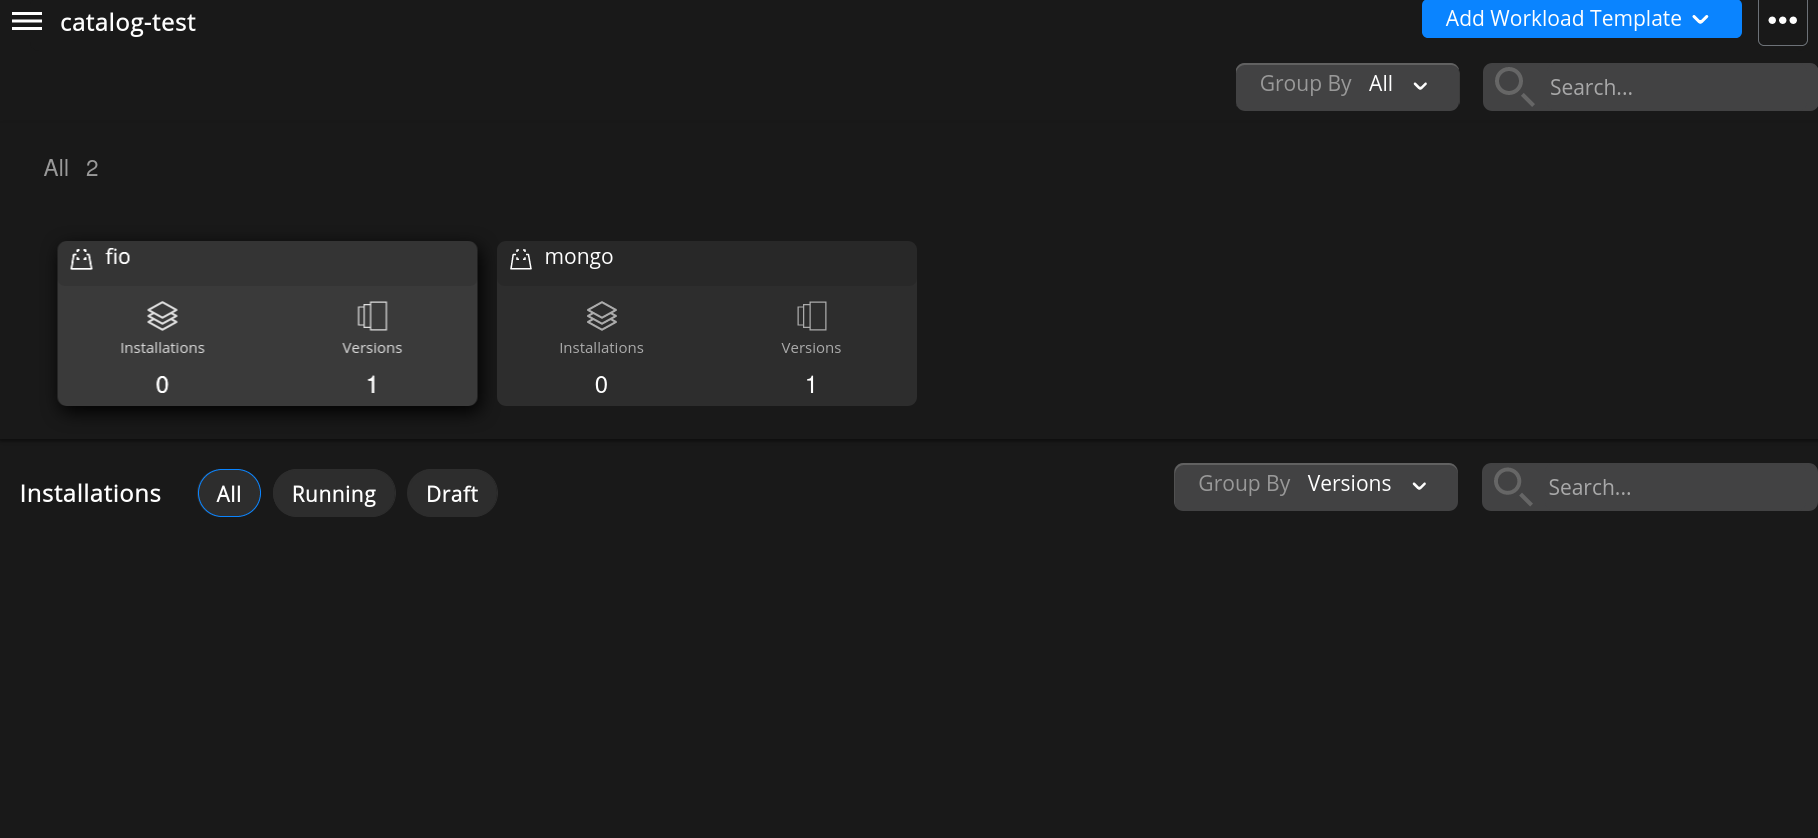
Newly created catalog is displayed in All Catalogs Page.
Creating Work Template
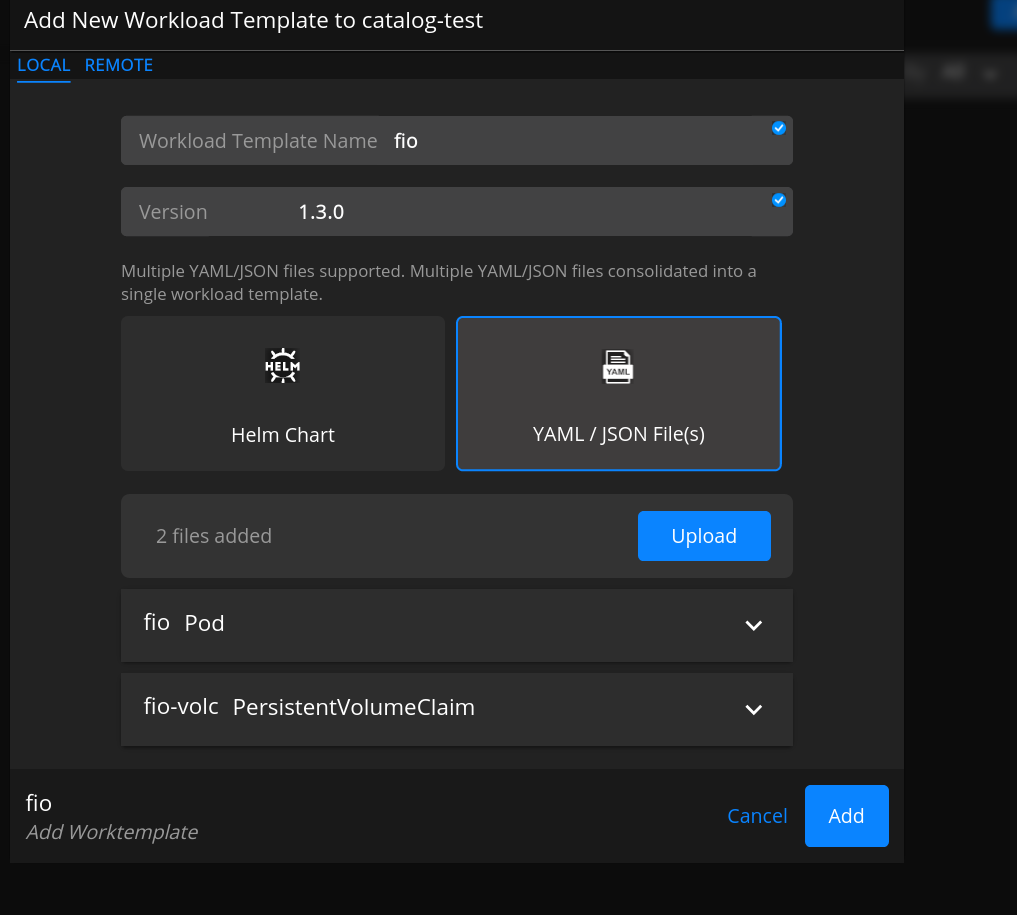
Select the catalog and navigate to the work template page and select Add workload Template.
Enter the name for the workload template.
For example, fio.
Enter the Version of the workload template.
- Select files for deployment.
For example: deployment.yaml, pod.yaml
- For helm chart deployment, enter the following:
Repo URL
Chart Name
Chart Version (optional)
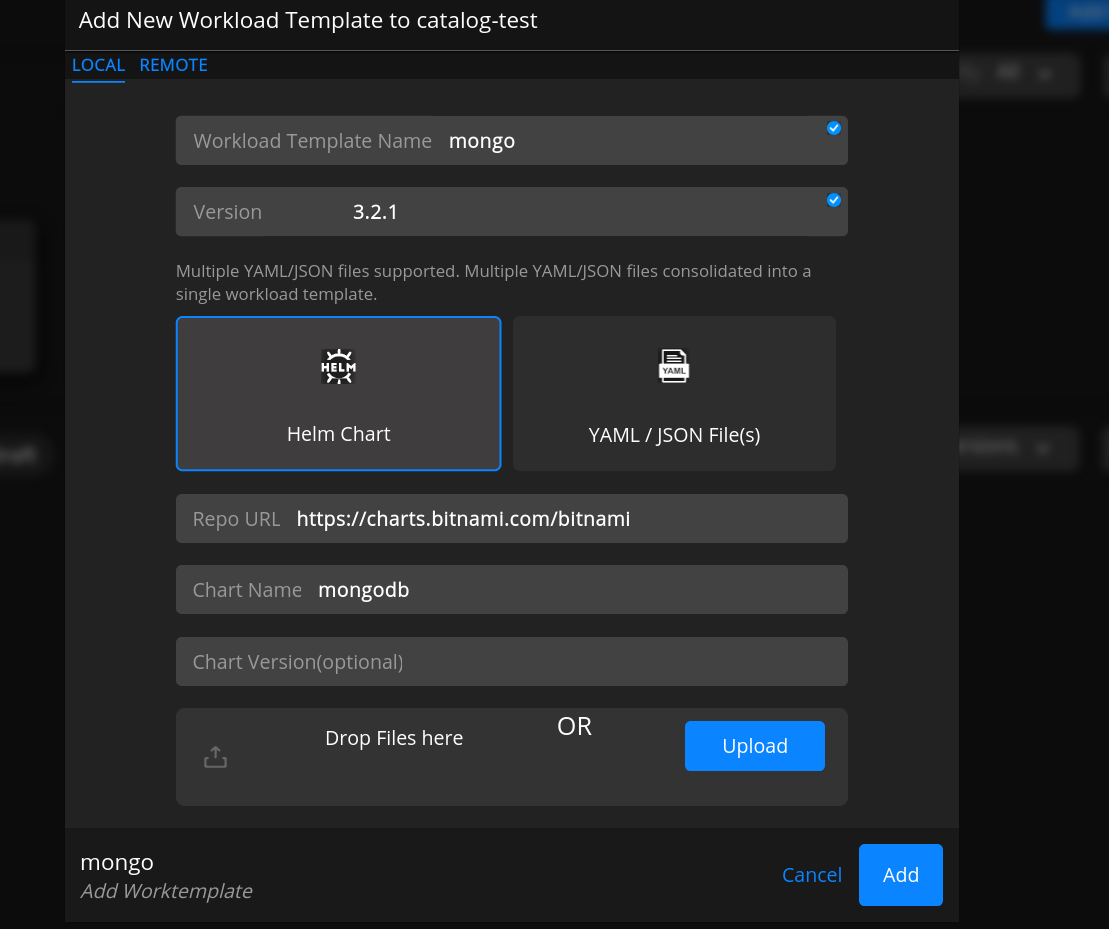
Select Add. The template is added in the Catalog.
Creating a Workload template from remote
With Spektra, you can create a workload template using application YAML files on the internet.
Select the catalog and navigate to the work template page and select Add workload Template.
Select Remote tab in the Add New Workload Template.
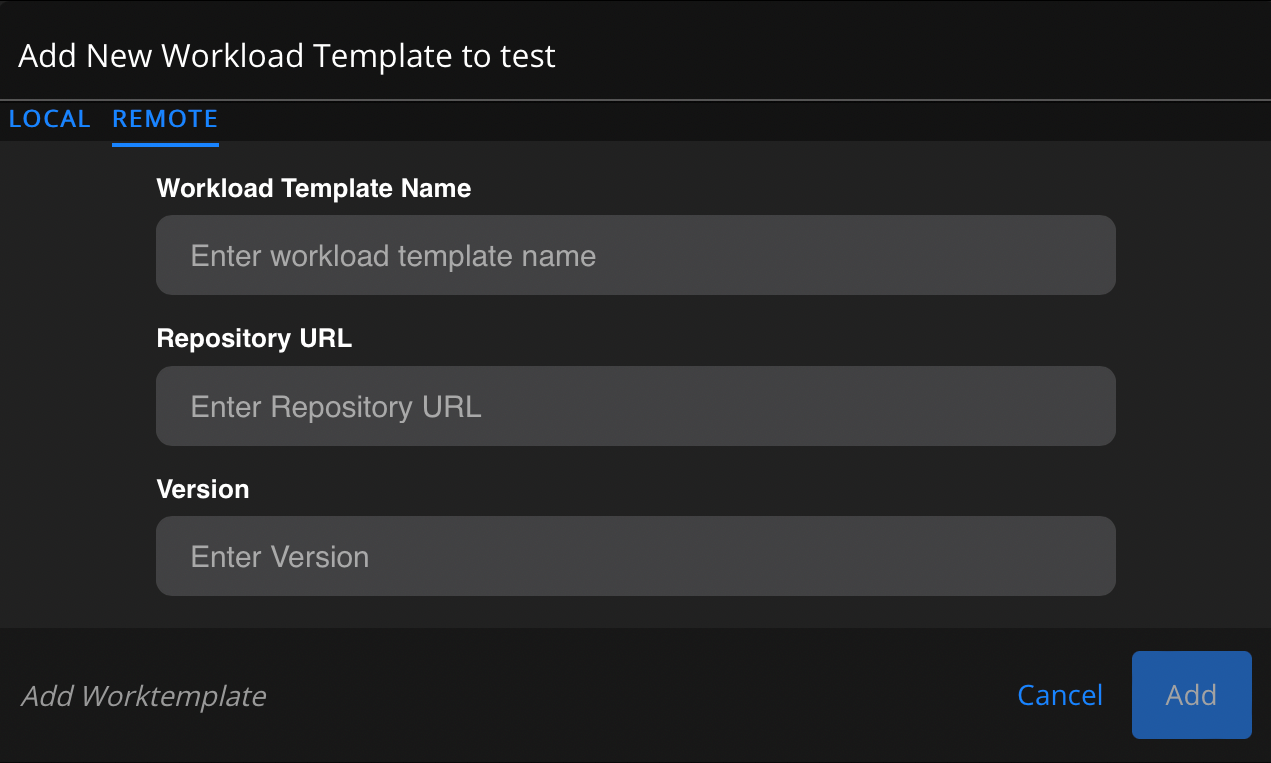
- Enter the following, and select Add.
Workload Template Name
Repository URL
Version
Spectra will download the application yaml from the internet and create the workload template from it. Using this workload template, you can install it on a cluster now.
Deploying an Application
After you add a work template. Choose the worktemplate and select install.
Select the Project and Version.
Select the cluster name to install the application.
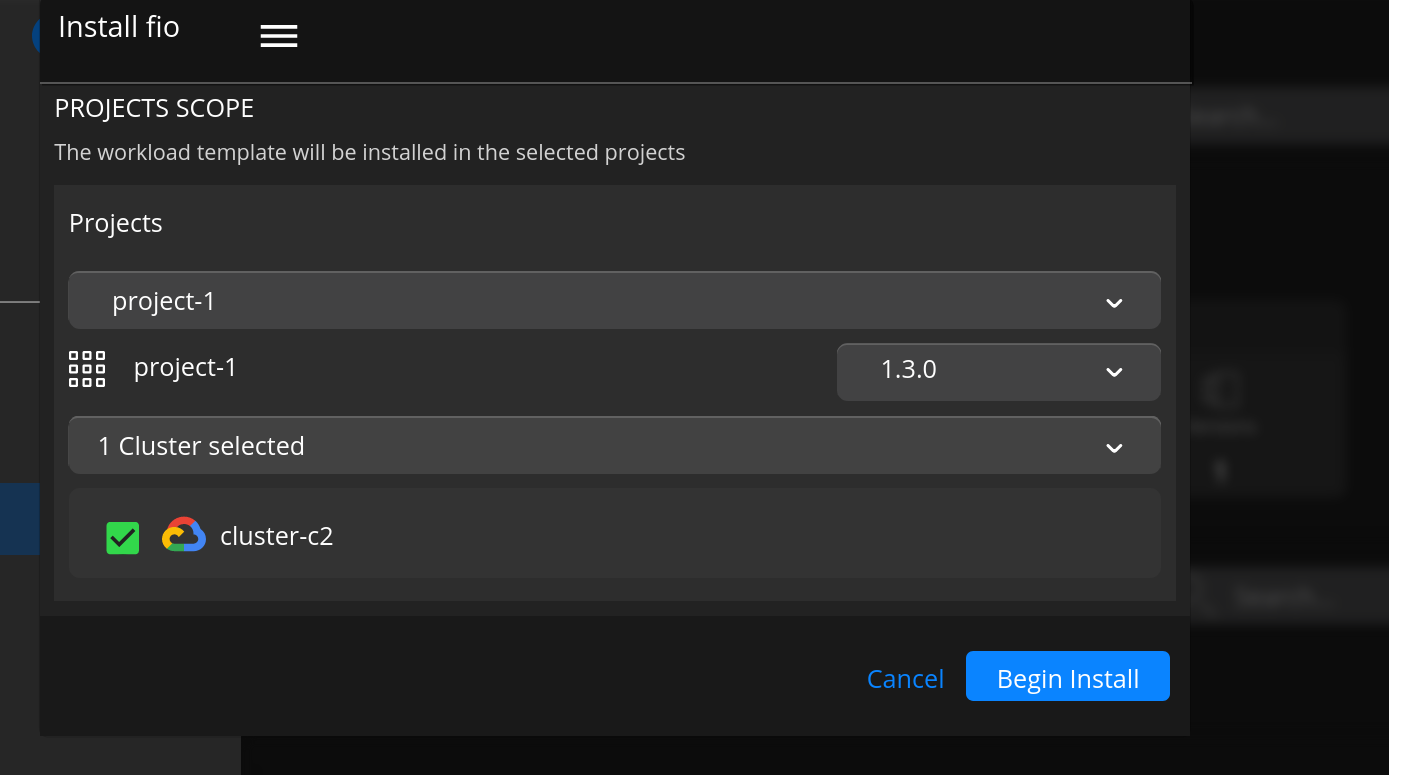
Select Begin Install to install the application.
You can also select Add Workleod Template it will direct you to the installation tab and view the details of installation.
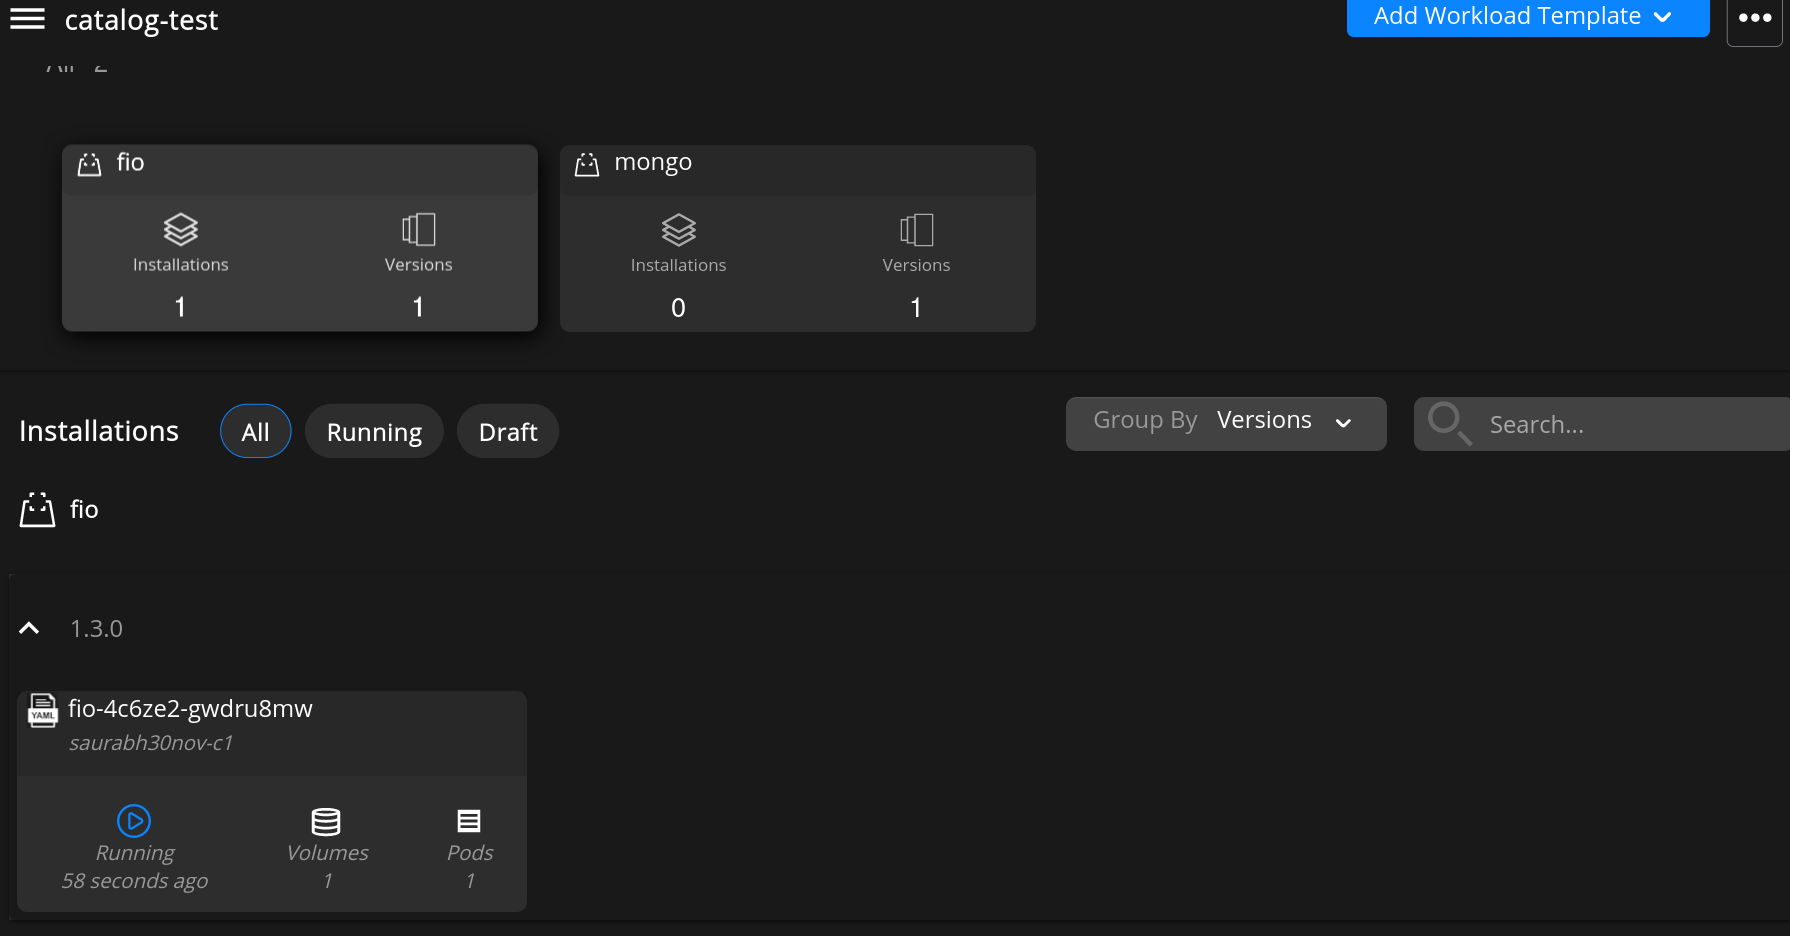
Uninstalling an Application
To uninstall the application after deployment:
Choose the catalog in which the application is located to uninstall.
Hover the mouse on the work-template and select on Uninstall Application.
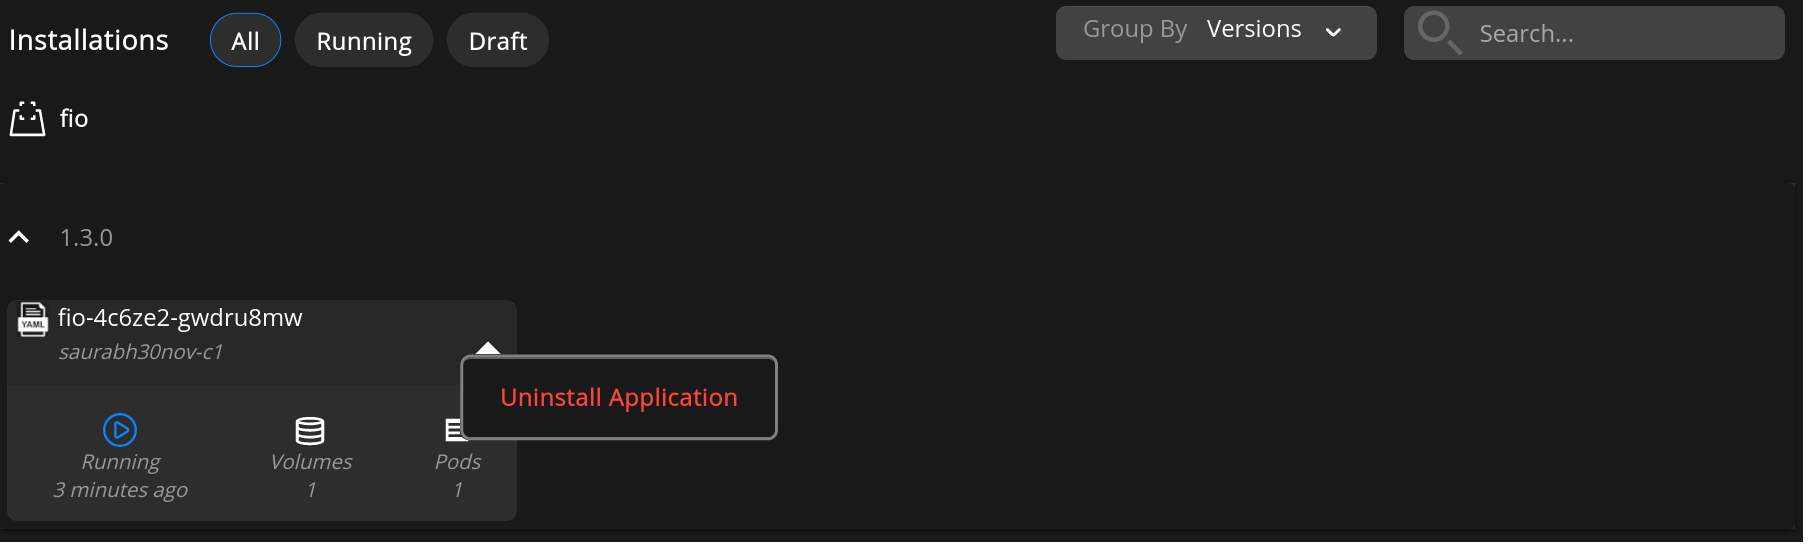
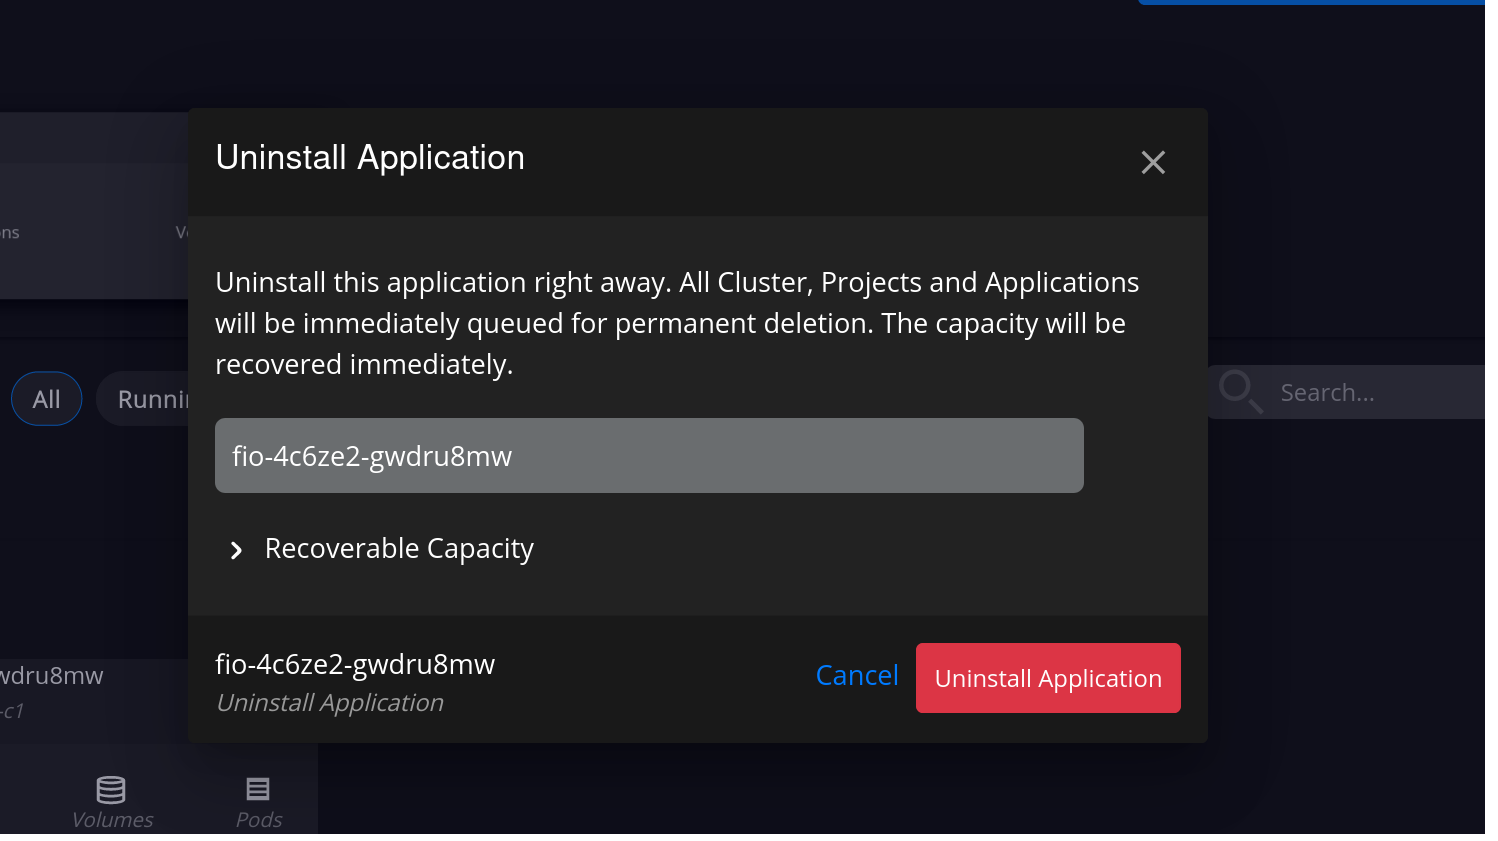
It takes few minutes for the application to uninstalled.
Viewing Application Activity
You can view the application activity in the Activity page.
From Installation tab, select the applications to display application page.
Select the Activity tab to check the Kubernetes events for the application.
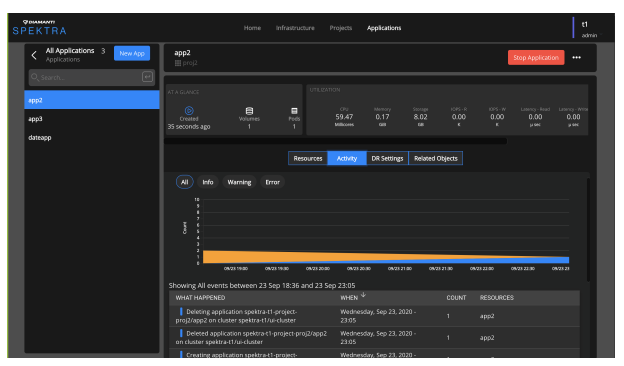
You can see the Kubernetes events in the Activity page for faster diagnosis and resolution.
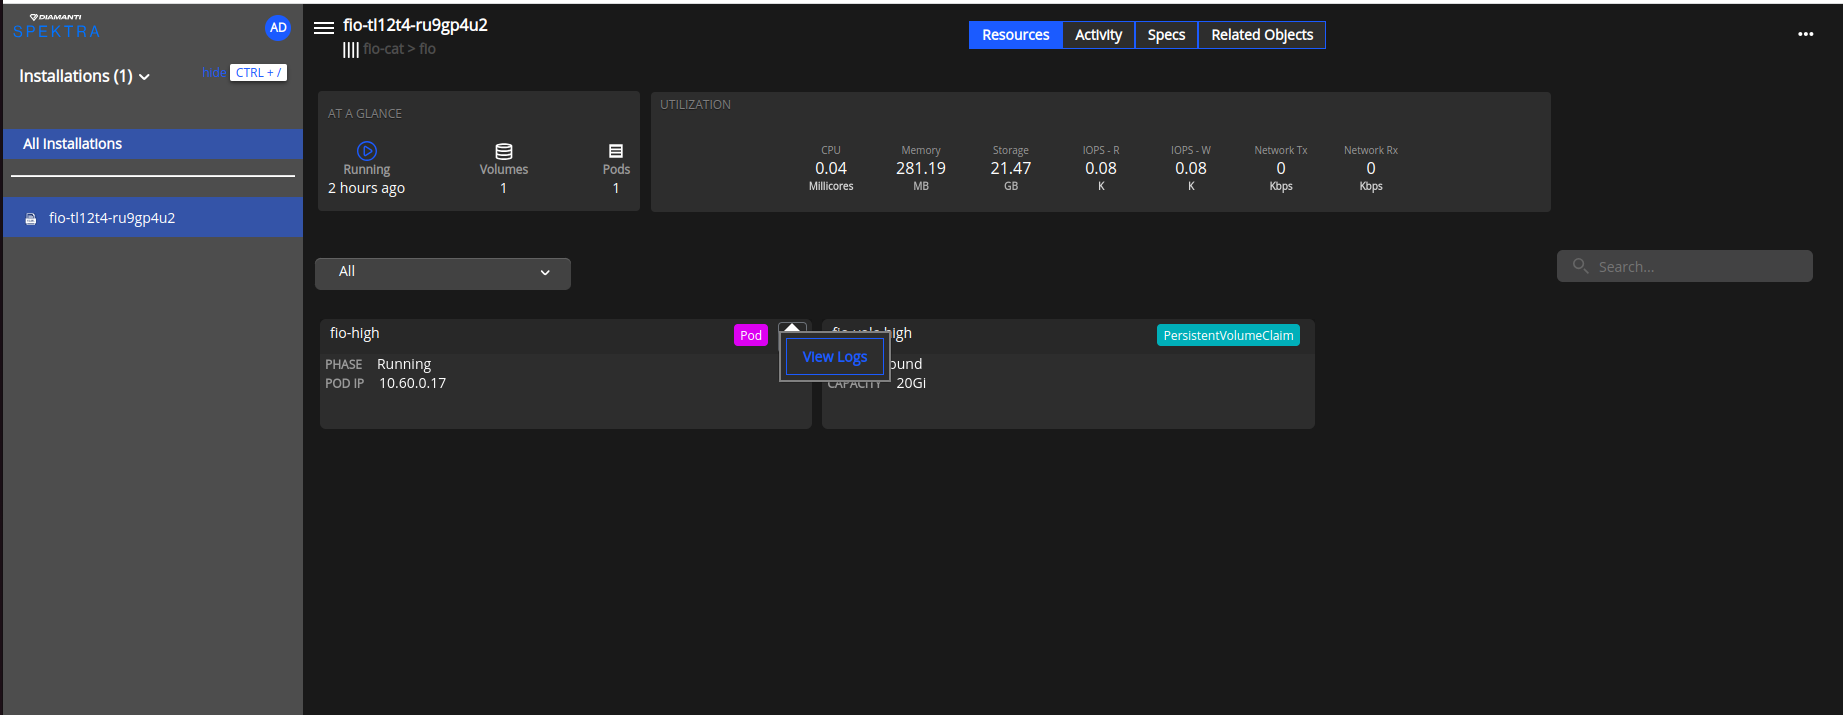
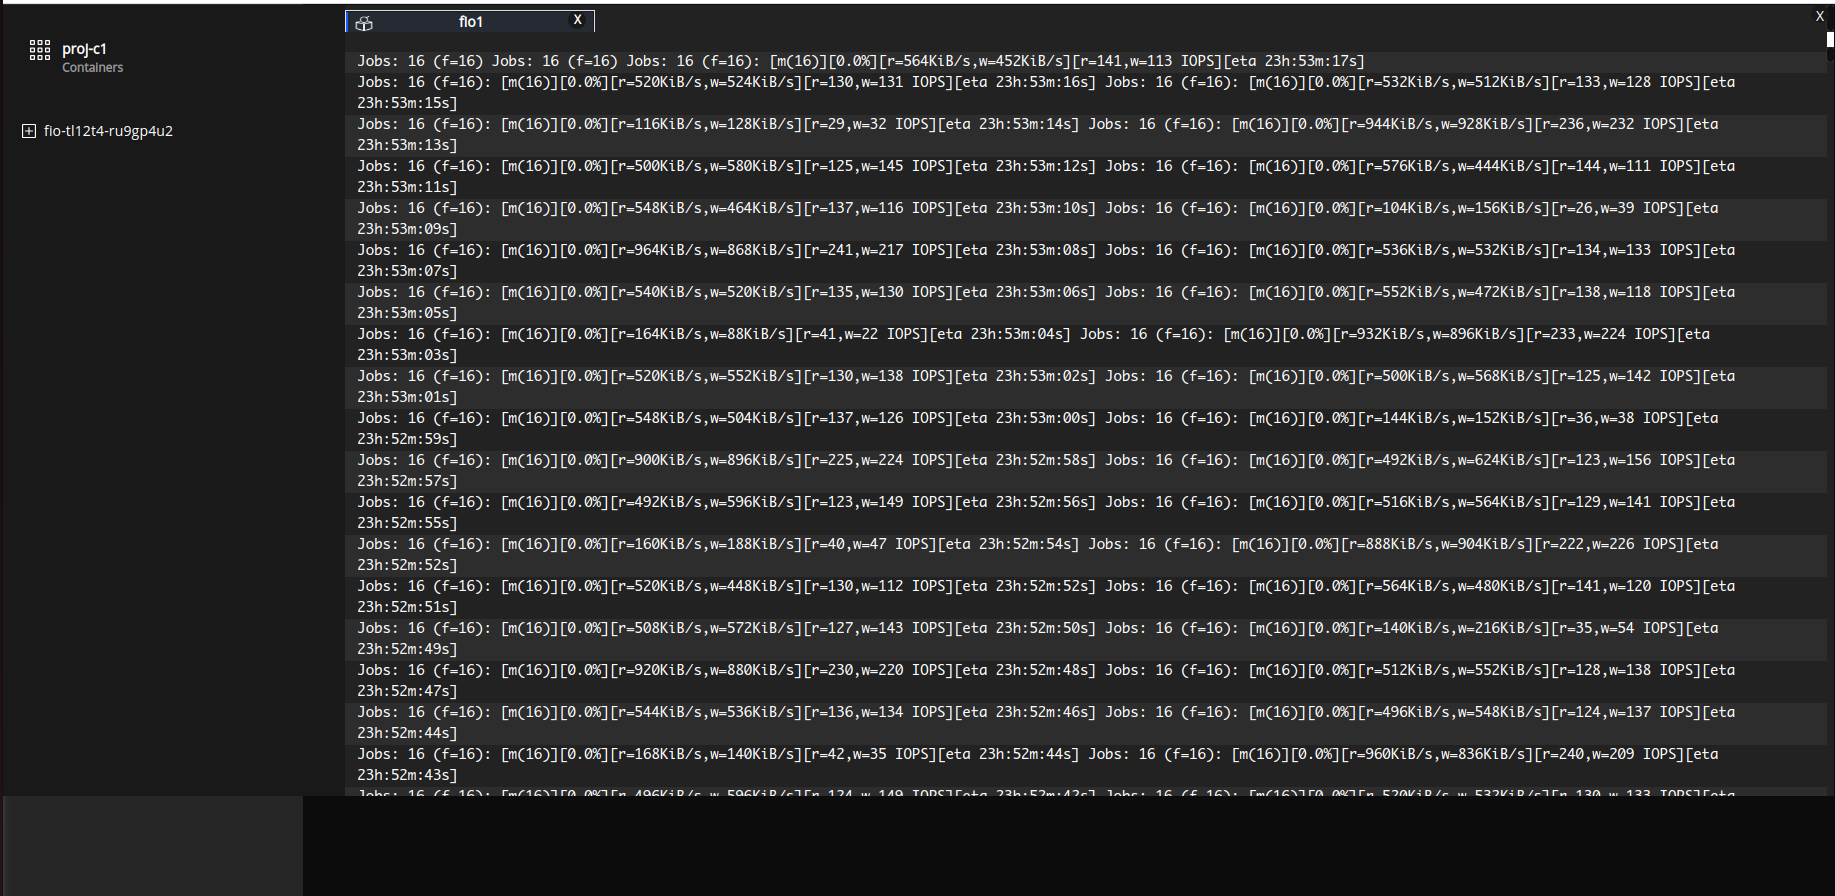
Viewing Application Logs
You can view the application logs from Installation tab.
Select the installed application to display resources tab.
Hover the mouse on the Pod resource and select View logs.
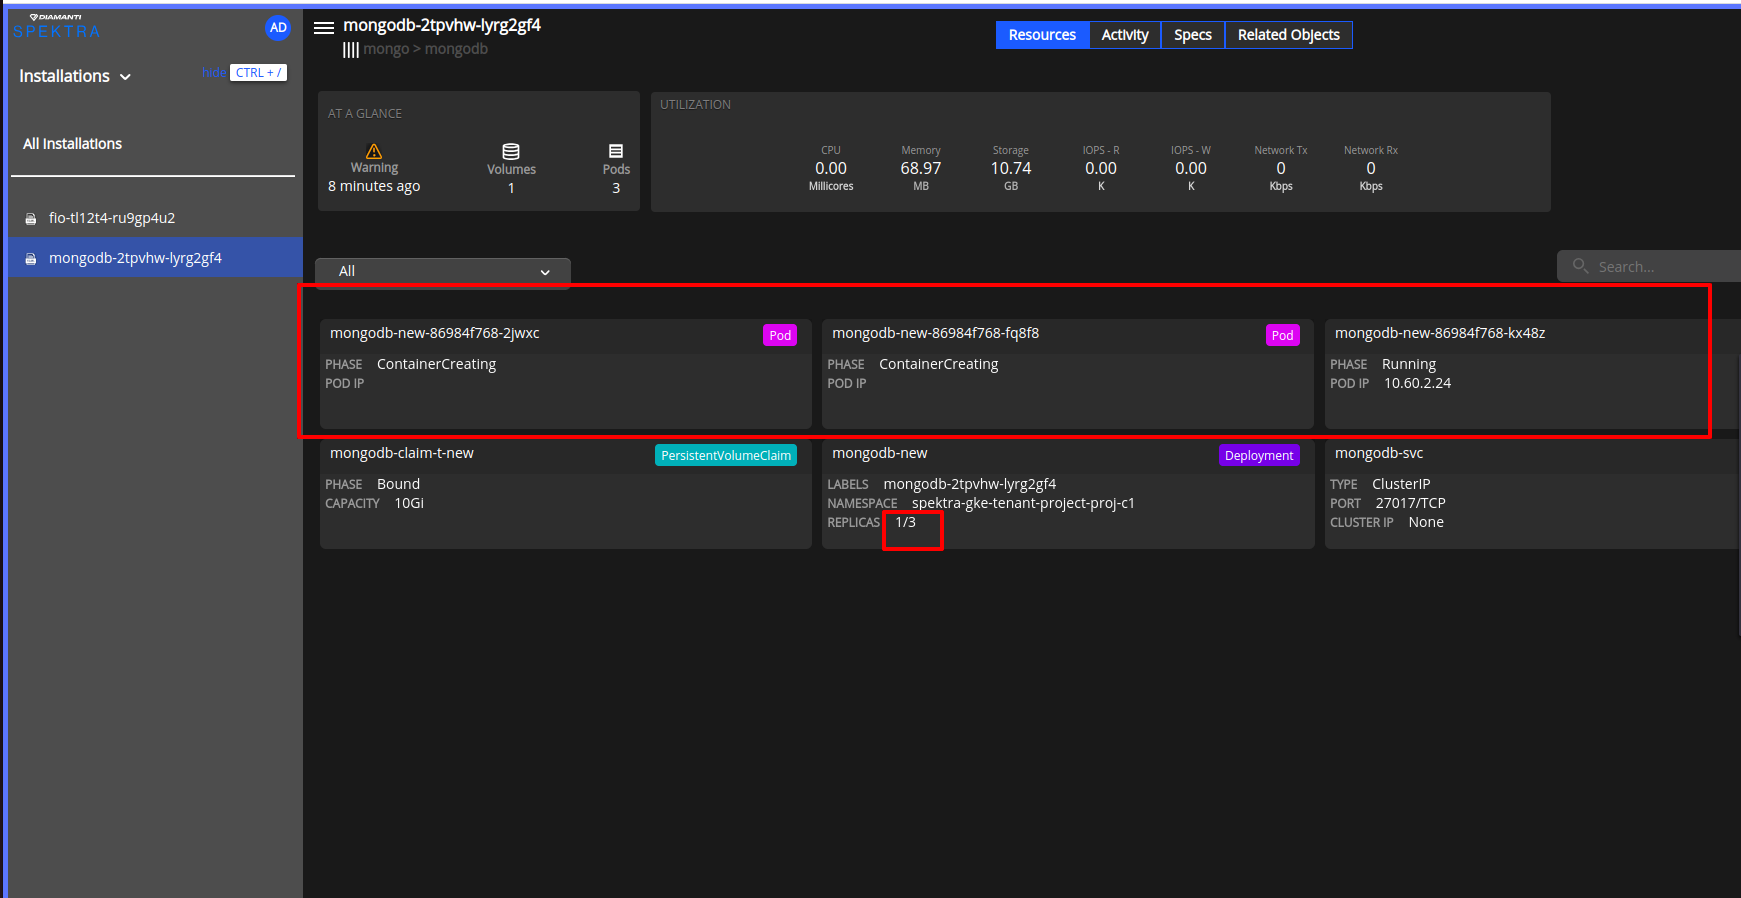
Scale Deployment
You can scale up and down the running deployment app.
Select the deployed installed application.
On resources tab, mouseover on deployment resource.
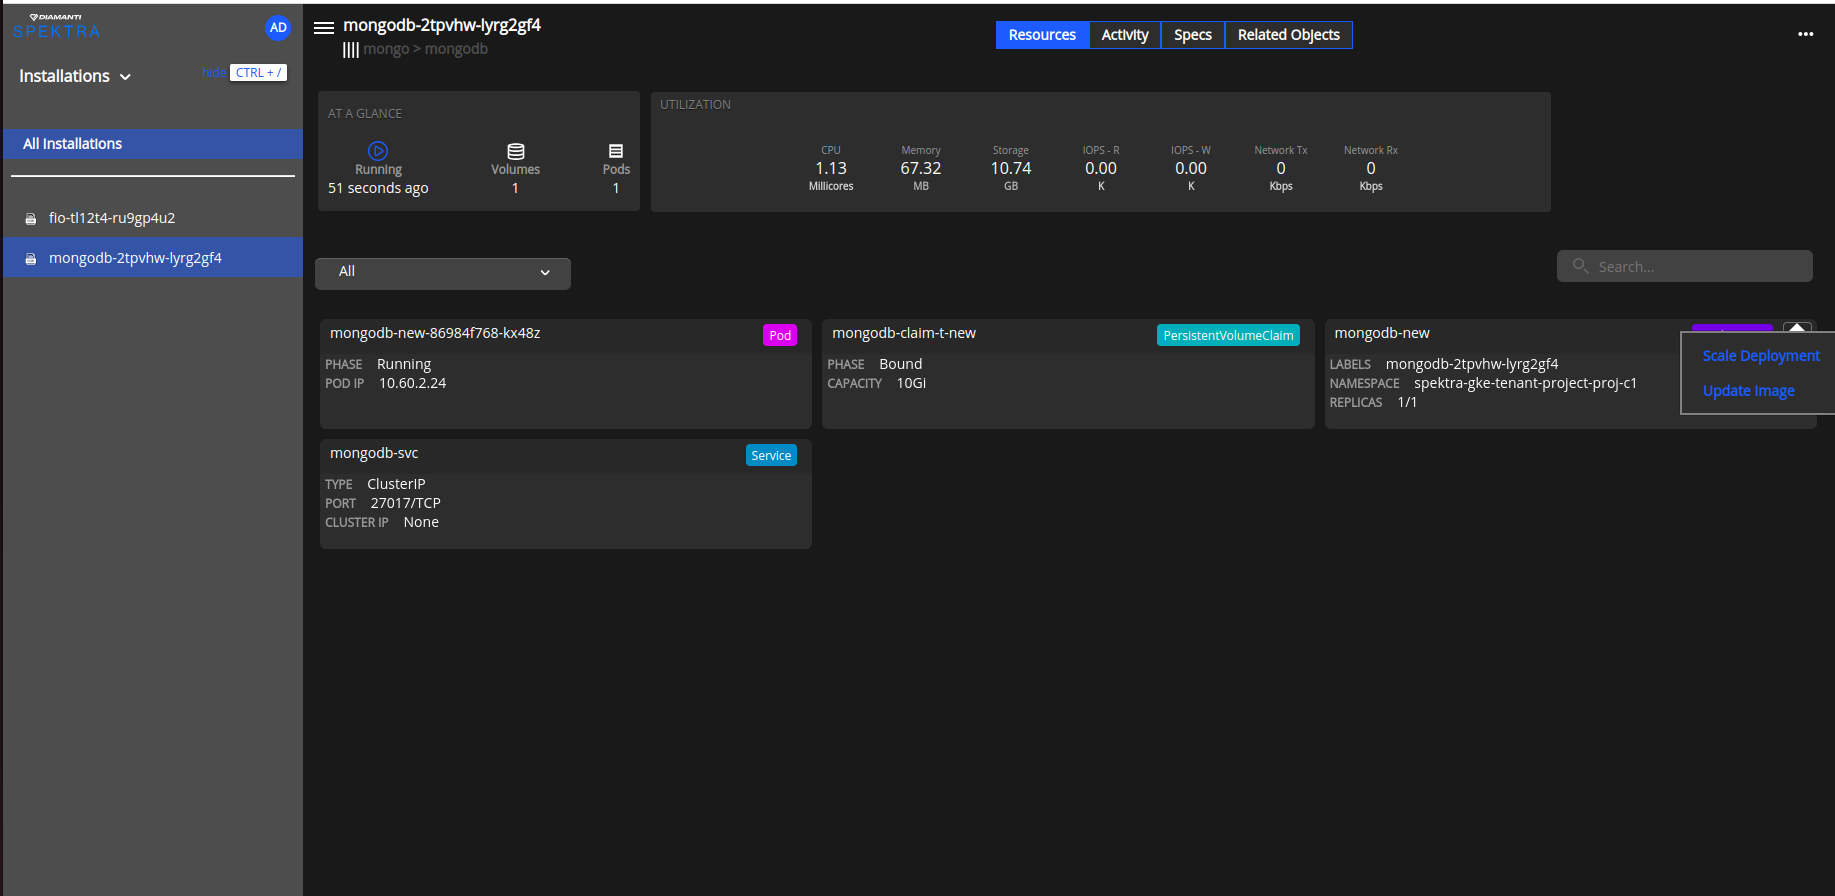
Select the Scale Deployment, and choose the number to scale the deployment.
These many number of deployment pods are created.
Updating deployment image
You can update the image of the running deployment app.
Select the installed application which is in deployment.
On resources tab, move the cursor on deployment resource
Select Update Image, and select the required container if there are multiple containers.
Provide the new image
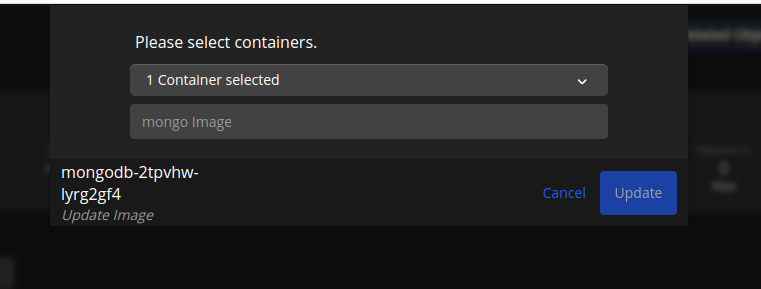
Select Update to update the container image.
Application Catalog
Spektra provides a framework to manage the applications deployed on a Kubernetes cluster. It provides a solution to browse, deploy, and manage the applications on the specified cluster. As part of the deployment process, the Platform creates all Kubernetes resources, such as StatefulSets, PersistentVolumeClaims, and so on. It deploys the application, configures the workload, and starts the application. Finally, the Platform monitors the application to ensure it is running as expected.
Note
A Cluster must be attached and cluster need to be associated with the project where the application must be installed.
Installing charts
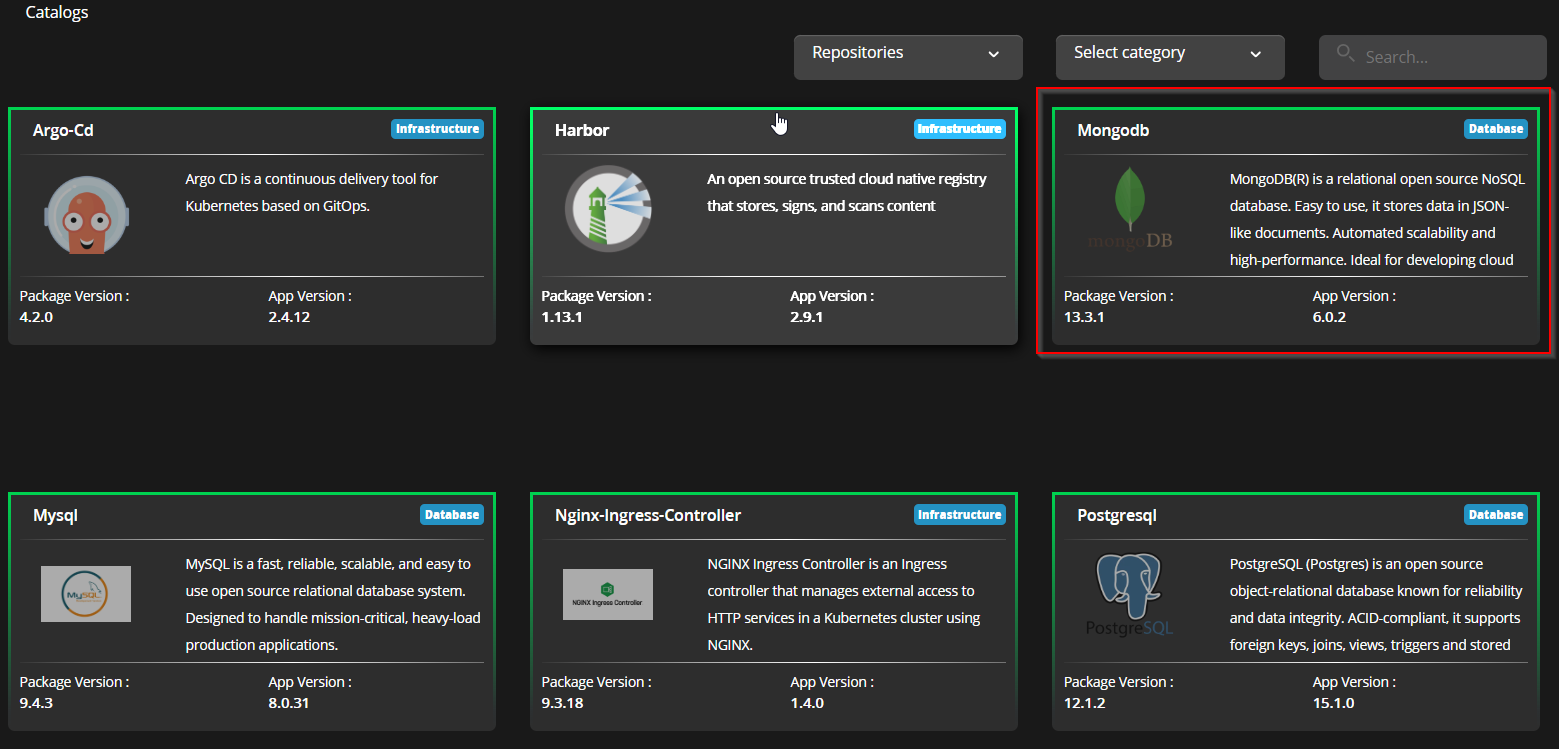
Following charts are available to install:
Harbor registry
Argocd
MySQL
Postgres
MongoDb
Nginx Ingress controller
Note
As an example, we have used Mongodb.
To install charts:
Log in as a Tenant Admin and select Charts.
Select the helm charts (Mongodb) to install from the list of Catalogs.
You can utilize the help chart values in following ways:
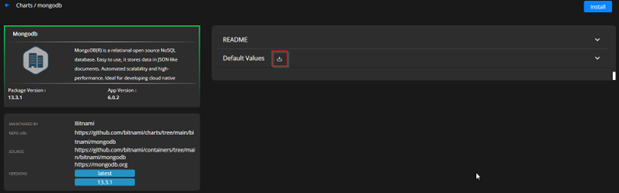
Use the default values You can select Install, to use the default values.
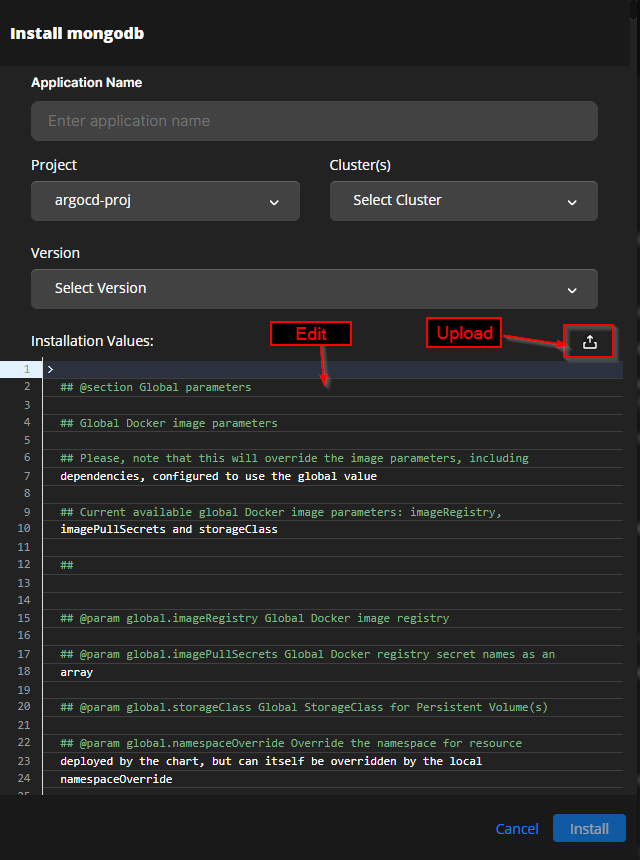
Download, edit and upload the chart values
Select the download icon for the default values.
Edit the downloaded .yaml file and upload it during installation of the application. To upload the file, refer step 4 for more information.
Edit in helm chart You can edit the .yaml file during installation. Refer Installation Values in step 4 for more information.
Select Install to install the application.
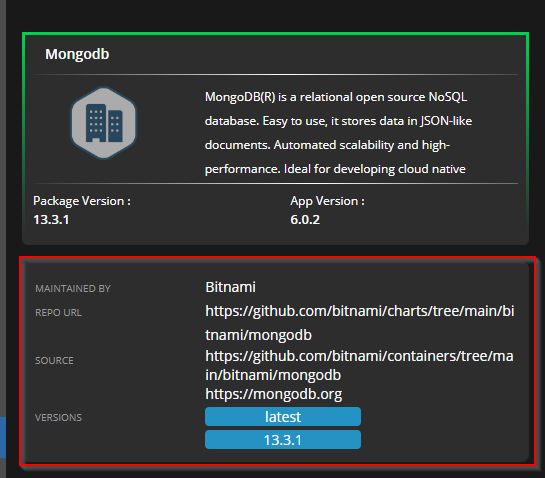
- For more details like repo URL, Source, and Versions of the application, you can refer to the links available.
The readme is also available for the application. It helps you if there are any details required during installation.
Enter the following in the Install mongodb diaglog, and select Install:
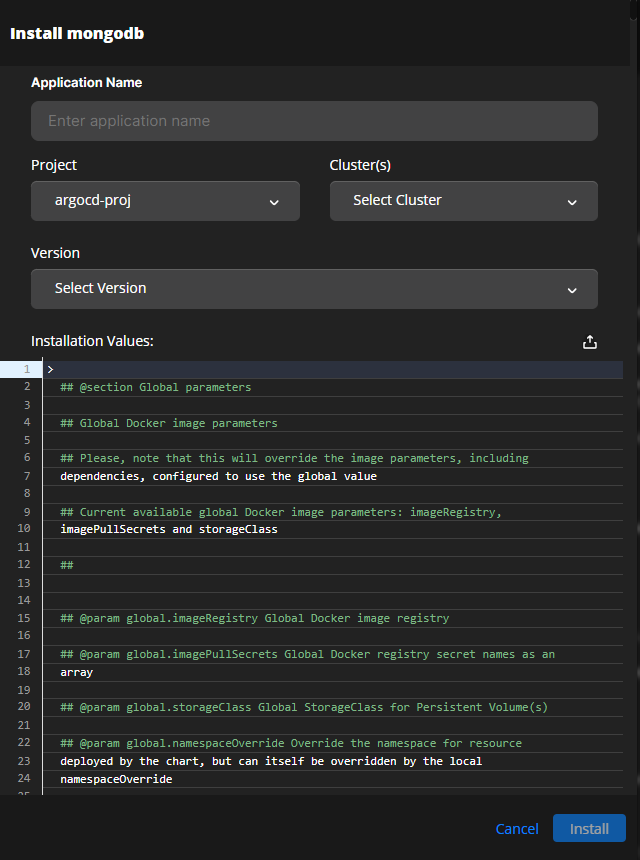
Application Name: Specifies the name of the application. The application is recognized by this name.
Project: Specifies the project under which the application must be installed. Select the project from the list.
Cluster(s): Specifies the cluster on which the application will install. Select the cluster from the list.
Version: Select the version of the application to be installed.
Installation Values: You can edit the helm chart values or upload the .yaml file.
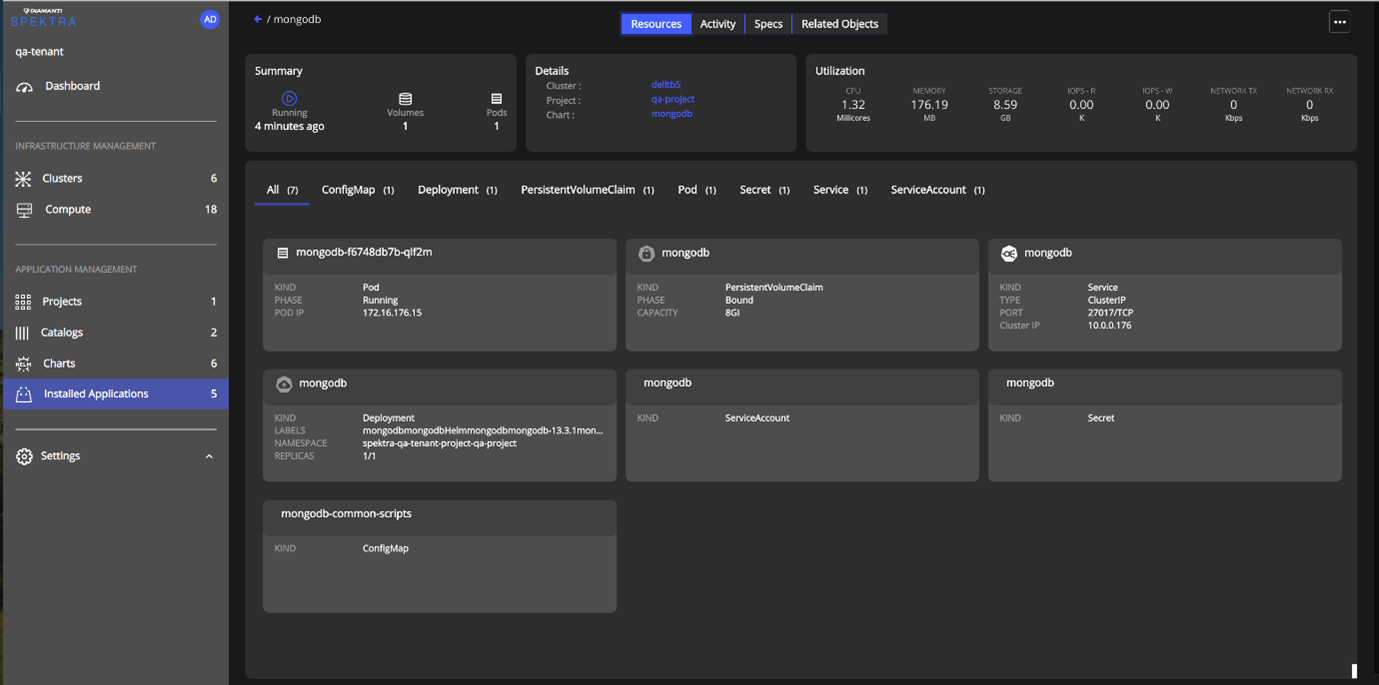
After the installation is complete, the application is available in the Installed Applications menu option.
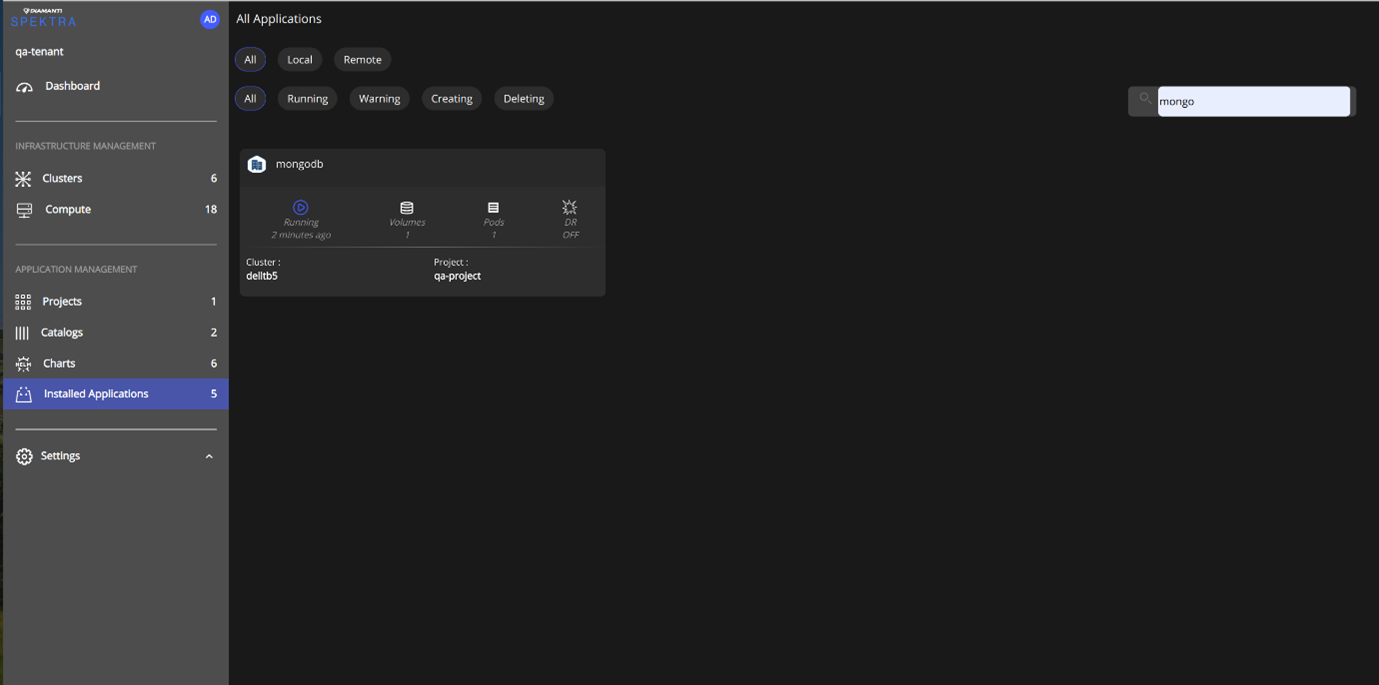
After you select the application, you can view the related resources for that application.