User Management
Overview of Users
A User has a username and password and can access the Spektra cluster. The adminuser (the Service Provider admin created during Domain creation) is a built-in local user provisioned at the time of cluster creation. You can onboard a user or a group of users to a Diamanti Spektra cluster.
You can either create the following types of users:
Local users - Create local users when there are a handful of them who access the Diamanti cluster directly. There is no dependency on a remote identity provider.
Remote users - Create remote users to manage a large number of users who need to access the Diamanti cluster. The remote identity provider handles the user management and authentication. Diamanti supports LDAP and Active Directory (AD) for remote authentication.
You (the tenant admin) create a group and associate the LDAP group with this Diamanti group. All users in the LDAP group obtain the same privileges as that of the users in the Diamanti group.
Key Terms
Term
Description
Authentication
Finds and validates a user during cluster login. User authentication can either be local or through remote authentication providers. Diamanti supports LDAP and Active Directory-based identity providers.
Authorization
Validates user privileges against a set of Diamanti resources. While authentication validates a user’s credentials, authorization sets the permissions to access cluster resources.
Group
Implements authorization to Diamanti resources. A user admin creates a local group and associates it with a set of permissions.
Role
Specifies the access rights to a resource (namespace) or to the cluster. A user admin associates a set of roles to a local group to define the actions the group users can perform on the resource or cluster.
The roles in Spektra are:
Service provider
Tenant admin
Project admin
Project member
Project viewer
Managing Users as a Service Provider
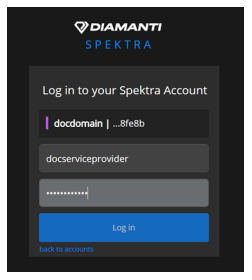
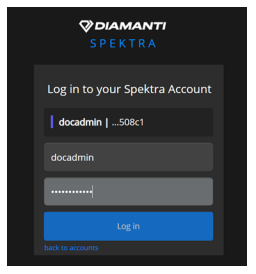
Log in as the Service Provider.
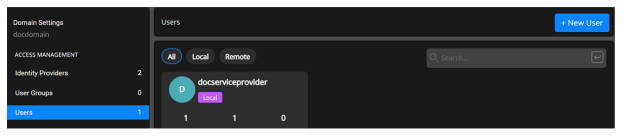
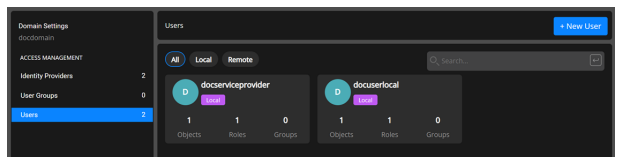
Select Settings from left panel and then select Users.
or
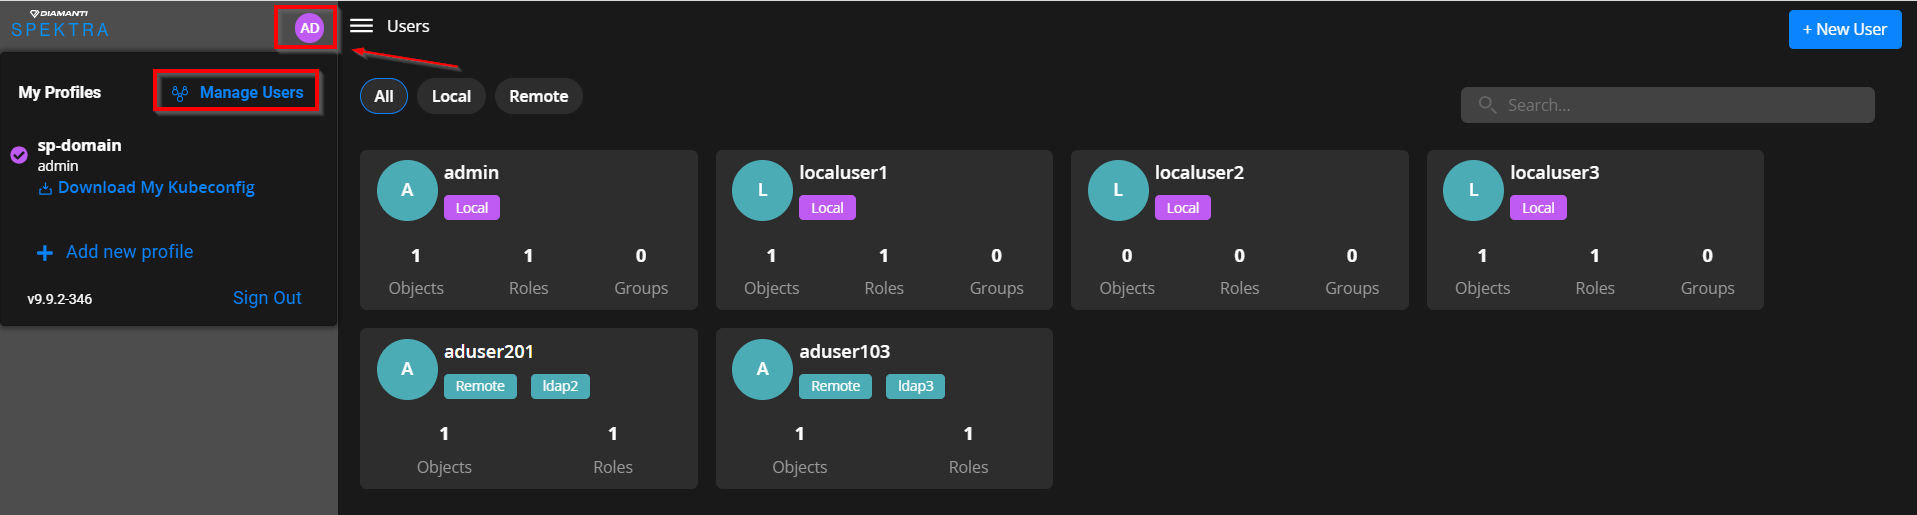
Select my profile icon in the top left, and select Manage Users.
Select New User to add a new user.
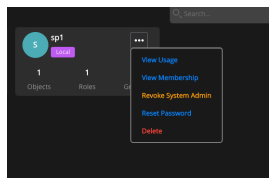
All users created by the Service Provider get Service Provider permissions by default. However, the Service Provider can assign or revoke the Service Provider roles from other users in the domain.
Creating a Local User as a Service Provider
Log in as the Service Provider.
Select Settings from left panel and then select Users.
or
Select my profile icon in the top left, and select Manage Users.
Select New User.
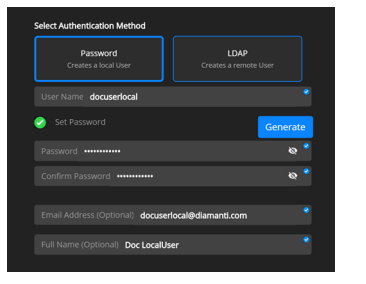
In the New User diaglog, select Password to authenticate the local user.
Enter the following:
User name of the local user
Password of the local user. The password should be a minimum of eight characters with at least one uppercase, lowercase, special character, and number. or Select Auto-generate password to automatically generate a password to authenticate the local user.
Note
You can change the password, after creating a user
Confirm the password.
Select Save to create the new local user.
After the local user is created successfully, the user name appears in the list of users on the Users page.
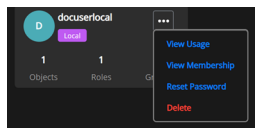
Getting User Information
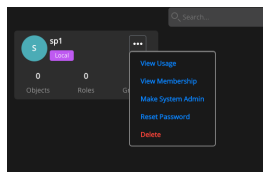
Mouse hover on the user.
Select Ellipsis.
Select View Usage, View membership, Reset password, or Delete the user.
Creating an Identity Provider as a Service Provider
Select Settings from left panel and then select Identity Provider.
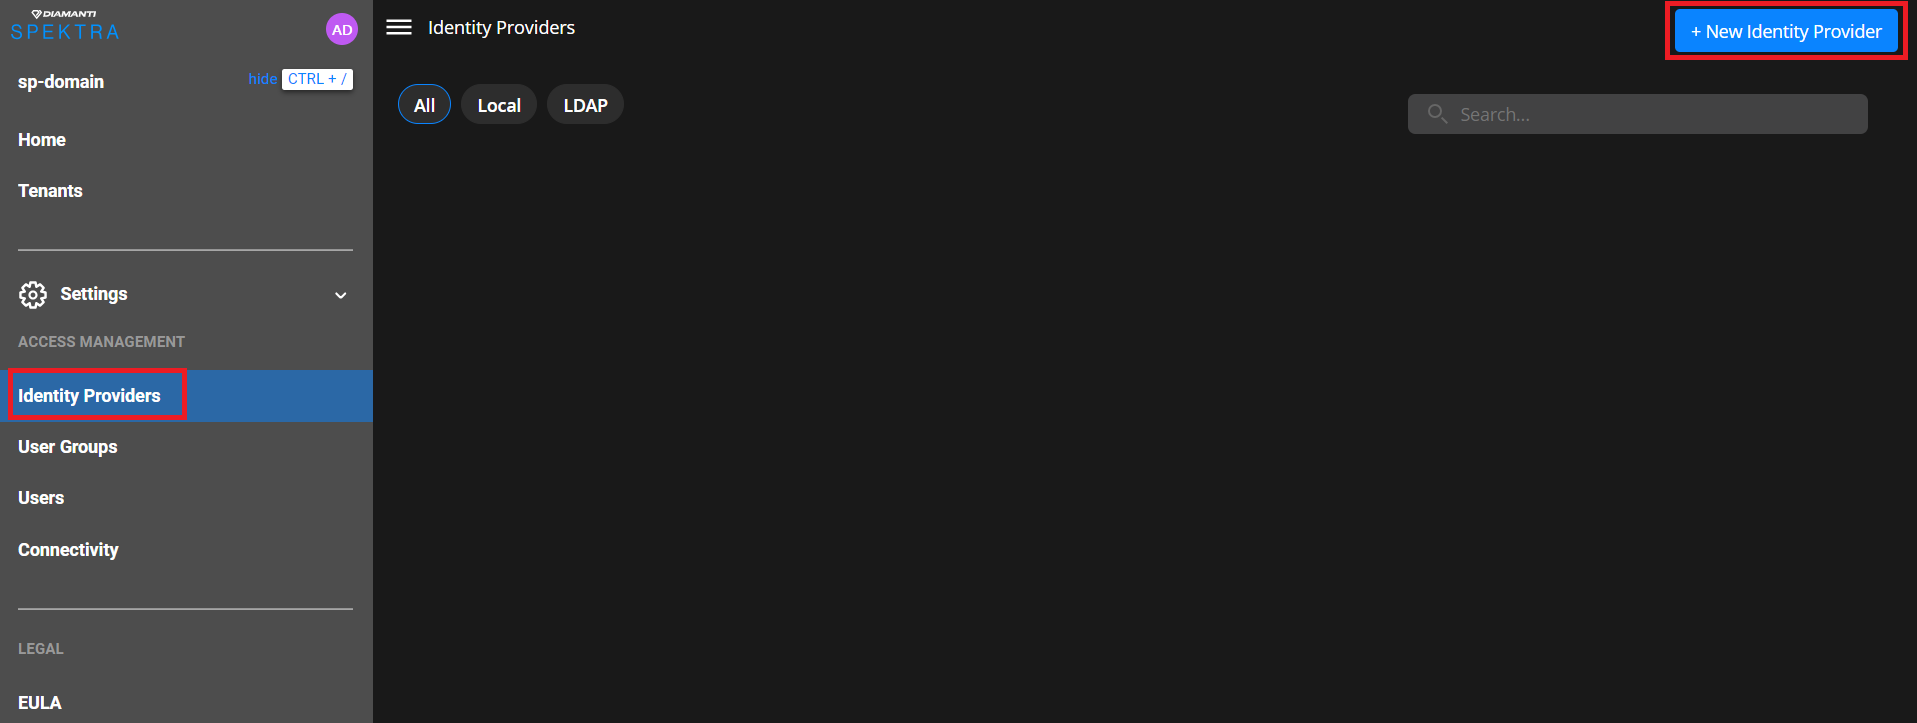
Select New Identity Provider.
Enter the following to create a New Identity Provider.

Name of the LDAP or AD server.
IP address of the remote server.
Optionally, enter the port number through which you connect to the remote server.
The Base DN (Distinguished Name) is the point from where a server searches for users.
For example, an LDAP search for the user adminis done by the server starting at the Base DN (dc=example,dc=com).
When the user is found, the full DN (cn=admin,dc=example,dc=com) is used to bind with the supplied password.
The LDAP server authenticates the user with the password.
Your application uses the DN to bind to the LDAP server during application startup, before any user is authenticated.
Enter a full DN such as cn=admin,dc=example,dc=com.
With LDAP syntax, the Bind DN, or the user authenticating to the LDAP Directory, is derived by using LDAP syntax and going up the tree starting at the user component.
For example, the user user1is contained in the Users container, under the example.com domain.
The corresponding Bind DN is as follows: CN=user1,CN=Users,DC=example,DC=com.
Bind Password that has a minimum of eight characters with at least one uppercase, lowercase, and special character.
Confirm Bind password.
Advanced Settings is optional
Under Advanced Settings, specify the following:
User Filter : Optionally, specify a user filter. This is the LDAP query used to identify the unique user record. It restricts the number of users who can access the application.
User Name Attribute: The system automatically populates this value. The user name must be the LDAP DN of the user, for example CN=user1,CN=Users,DC=example,DC=com.
User Member Attribute: Optionally, specify a user member attribute. This is a list of comma-separated LDAP attributes on a user object storing the groups that the user is a member of.
Group Filter: Optionally, specify the LDAP group filter. This restricts the number of groups that can access the application.
Optionally, specify a Group Name Attribute of the LDAP server. The group name is not case sensitive.
The system automatically populates this value. This is a list of comma-separated Group Member Attributes on a group object storing the user members of the group.
Select Save to create the identity provider.
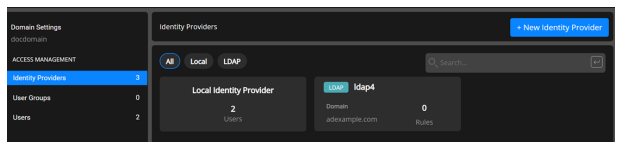
The new identity provider that you create appears in the list on the Access Management page.
Creating a Remote User as a service provider
Select Settings from left panel and then select Users.
or
Select my profile icon in the top left, and select Manage Users.
Select New User.
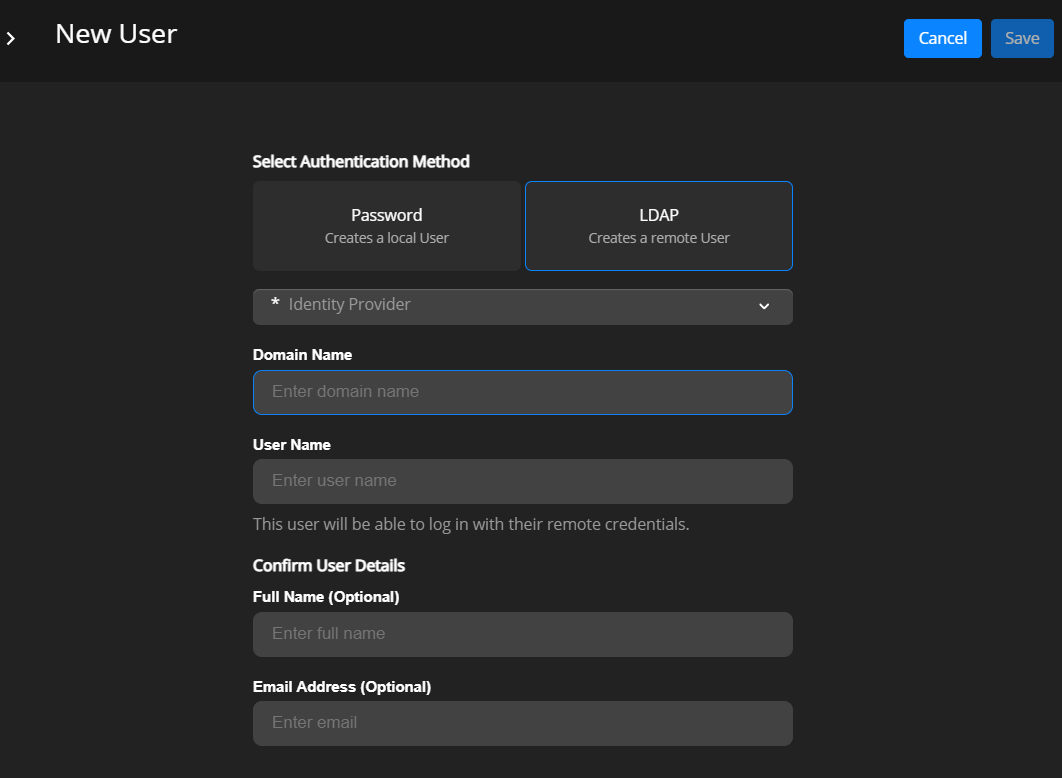
- Select LDAP as the Authentication Method to create a remote user.
Note
Make sure at least one LDAP should be created in which user has to create.
Select the remote identity provider from the list that you created using the steps described above.
- Enter the following: a Domain name.
Domain name
LDAP remote User Name
Optionally, enter the Full Name of the user
Optionally, enter the users Email Address
Select Save to create the remote user.
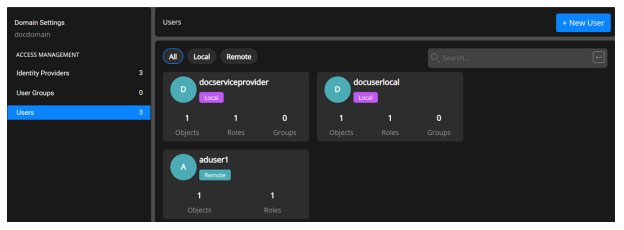
After the remote user is created successfully and the user name appears in the list of users on the Users page.
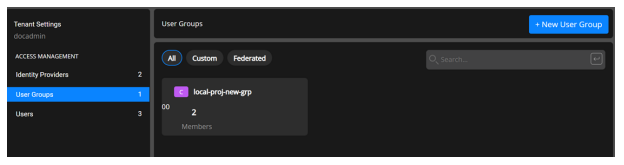
Creating Custom User Groups as a Service Provider
Select Settings from left panel and then select User Groups.
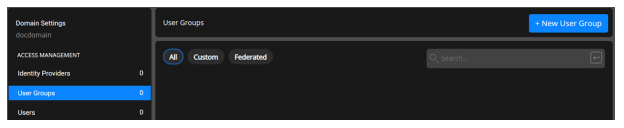
Select User Group to display the user group creation page.
Select New User Group.
Select the membership type as Custom to add local or remote users to the group.
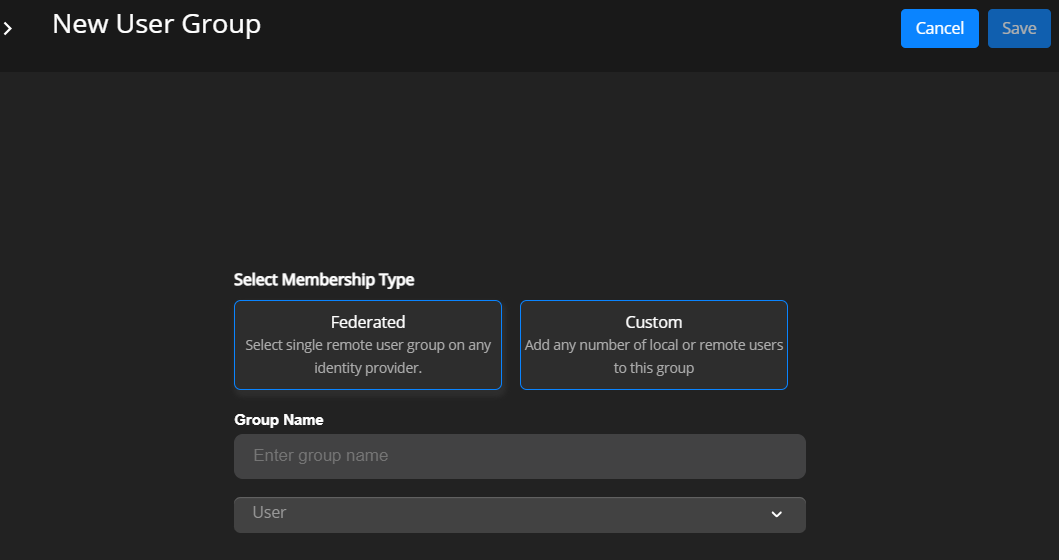
Enter the Group Name and select the Users to associate with the group.
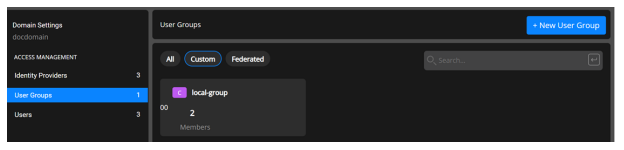
Select Save to create the group.
The User Group appears in the list of User Groups on the User Group page.
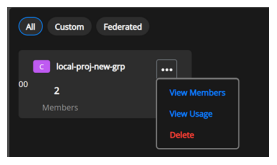
Hover the mouse on to the group and click ellipsesin the user group sectionto display a drop-down to View Members, View Usage, and Delete the User Group.
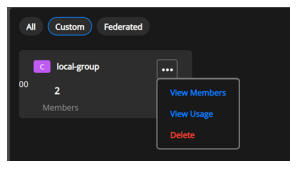
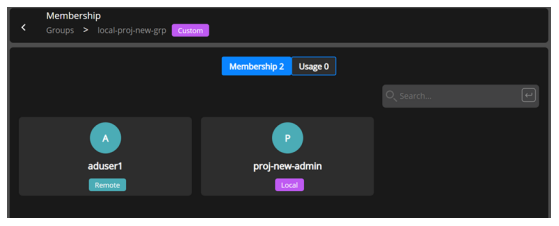
Select View Members to display the Membership page.

Hover the mouse to the group and click ellipsesin the user group section to display a drop-down that lets you remove the member from the group.
Creating Federated User Groups as a Service Provider
Select Settings from left panel and then select User Groups.
Select New User Group.
Select the membership type as Federated for remote users.
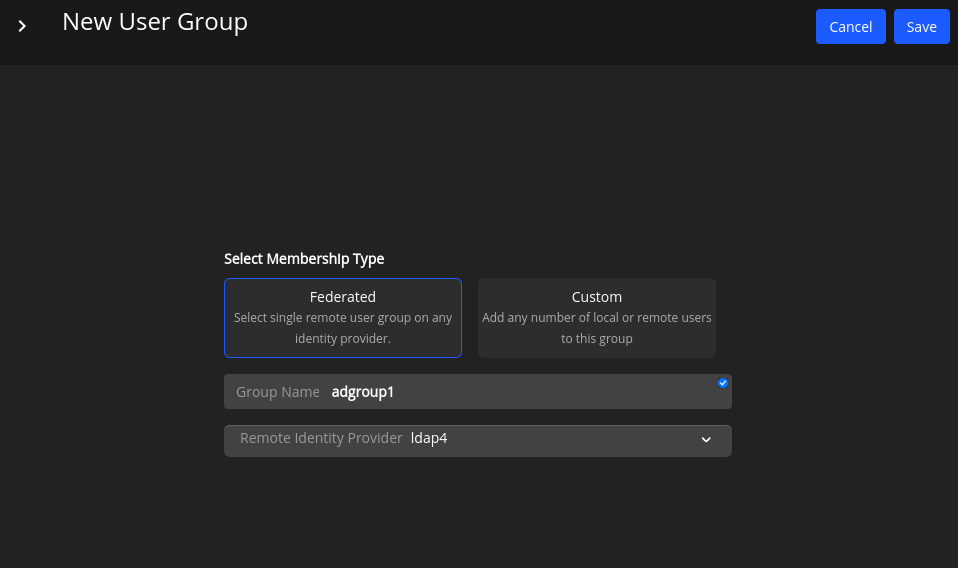
Enter the Group name and select the Remote Identity Provider from the list.
Select Save to create the group.
The User Group you created appears in the list of User Groups on the User Groups page.
Hover the mouse on to the group and click on three dotsin the user group sectionto display a drop-down to View Members, View Usage, and Delete the User Group.
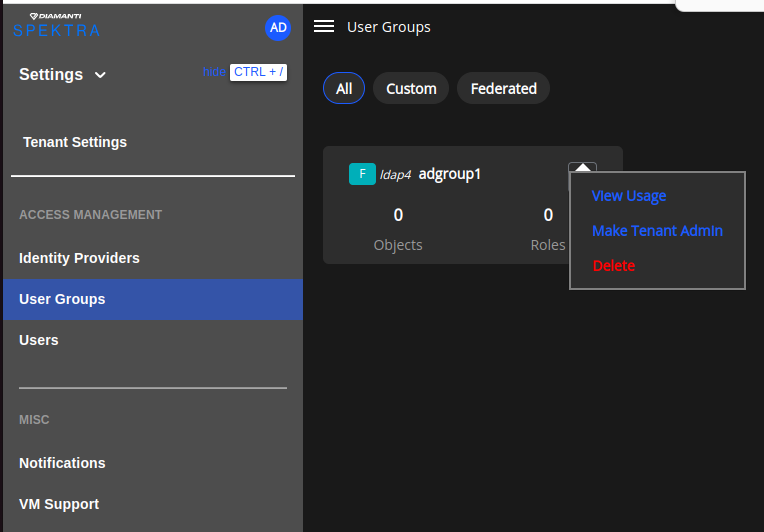
Select View Usage to display the Usage page.
Hover the mouse on the group to delete the group
Managing Users as the Tenant Admin
Create a Local User as a Tenant Administrator
Log in as the tenant admin.
Select Settings from left panel and then select User.
or
Select my profile icon in the top left, and select Manage Users.
Select New User.
In the New User diaglog, select Password to authenticate the local user.
- Enter the following:
User name of the local user
Password of the local user. The password should be a minimum of eight characters with at least one uppercase, lowercase, special character, and number.
or
Select Auto-generate password to automatically generate a password to authenticate the local user.
Note
You can change the password, after creating a user.
Confirm the password.
Select Save to create the new local user.
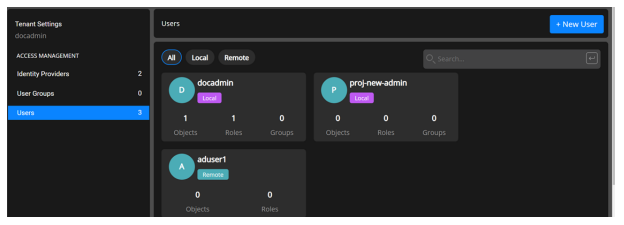
The local user is created successfully, and the user name appears in the list of users on the tenant admin Users page.
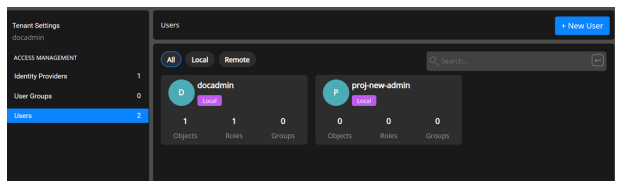
Only the users under the tenancy namespace are visible under Users in the tenant admin Access Management page. You cannot see the users that the Service Provider created in the domain namespace. They are mutually exclusive.
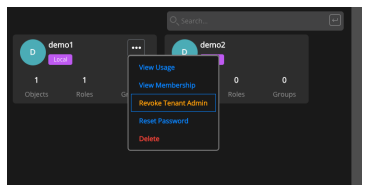
The tenant admin can assign other people as tenant admins.
The tenant admin can also revoke another tenant admins privilege.
Creating a Remote User as a Tenant Administrator
Select Settings from left panel and then select User.
or
Select my profile icon in the top left, and select Manage Users.
Select New User.
In the New User diaglog, select LDAP to create a remote user.
Note
Make sure at least one LDAP should be created in which user has to create.
Select the remote Identity Provider from the list that you created using the steps described above.
- Enter the following: a Domain name.
Domain name
LDAP remote User Name
Optionally, enter the Full Name of the user
Optionally, enter the users Email Address
Select Save to create the remote user.
After the remote user is created successfully and the user name appears in the list of users on the Users page.
Creating User Groups as a Tenant Administrator
User Groups enable you to create a set of Users and group them so that you can assign parameters to many users, projects, domains, and tenants.
Select Settings from left panel and then select User Groups.
Select User Group to display the user group creation page.
Select New User Group.
Select the membership type as Custom to add local or remote users to the group.
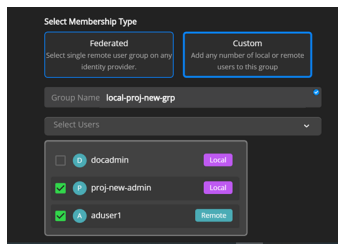
Enter the Group Name and select the Users to associate with the group.
Select Save to create the group.
The User Group that you created appears in the list of User Groups on the Tenant Settings page.
Mouse hover on to the group and Click on three dots to display a drop-down to View Members, View Usage, and Delete the User Group.
Select View Members to display the Membership page.
Mouse hover on to the group and Click on three dots to display a drop-down, that lets you remove the member from the group.
Creating Federated User Groups as a Tenant Administrtor
Select Settings from left panel and then select User Groups.
Select New User Group.
Select the membership type as Federated for remote users.
Enter the Group name and select the Remote Identity Provider from the list.
Select Save to create the group.
The User Group you created appears in the list of User Groups on the Access Management page.
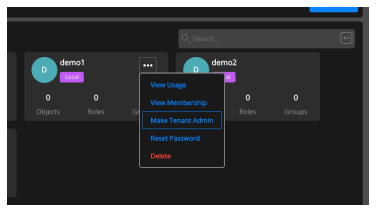
Hover the mouse on to the group and select ellipsesin the user group sectionto display a drop-down to View Members, View Usage, Make Tenant admin and Delete.
Select View Usage to display the Usage page.
Hover the mouse on to the group to delete the group.
Note
To view the users, navigate to the My Profile icon in the top left and select Manage Users This option is available to all users including Service Provider, Tenant Administrator, Project Administrator, Project Manager, and Project Viewer.
Adding a User as a Project Admin
Go to the Projects page and click the Access tab to display the Access page.
Click Add Member at the top right of the page to display the Add Member menu.
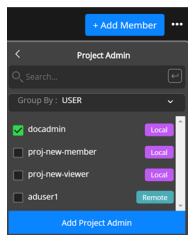
Select project admin to display the drop-down.
Select a user and click on Add Project Admin to add the user as a project admin.
Adding a user as Project Member
Go to the Projects page, click on project and click the Access tab to display the Access page.

Click Add Member at the top right of the page to display the Add Member menu.
Select Project Member to display the drop-down.
Select a user and click Add Project Member to add the user as a project member.
Adding a user as Project Viewer
Go to the Projects page, click Users, and click the Access tab to display the Access page.
Click Add Member at the top right of the page to display the Add Member menu.
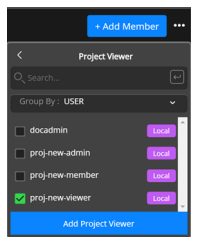
Click Add Member at the top right of the page to display the Add Member menu.
Select Project Viewer to display the drop-down.
Select a user and click Add Project Viewer to add the user as a project viewer.
Viewing the Project Users
Go to the Projects page, click project, and click the Access tab to display the Access page.
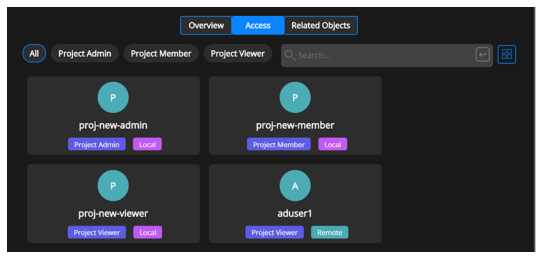
The Access page lists the project admins, project members, and project viewers.
Adding a Group to project
Note
Create a Federated or custom group before giving access to it
Go to the Projects page, click Users, and click the Access tab to display the Access page.
Click Add Member at the top right of the page to display the Add Member menu.
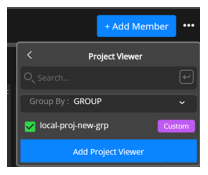
Click Group By to display a drop-down.
Select a group from the list.
Click Add Project Viewer to add users in the group as project viewers.
Go to the Projects page, click Users, and click the Access tab to display the Access page.
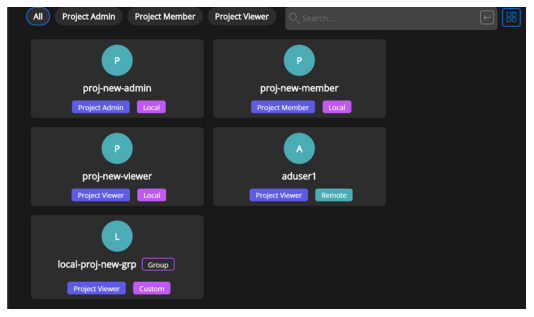
The users in the new group are added as project viewers.